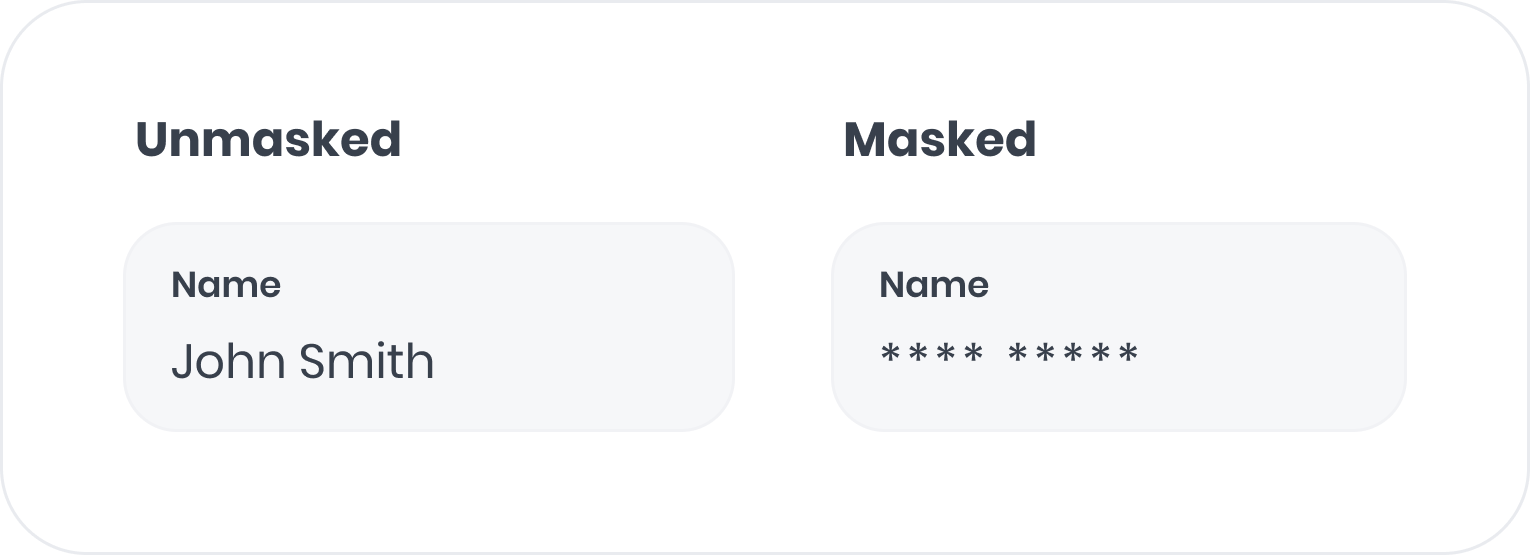
 From a data capture perspective, we replace the textContent value of the element before it is sent to our servers.
There are two ways to mask, using a CSS class or a data-attribute.
#### CSS class masking
To mask an element and all of its children, add the `adora-mask` CSS class to the HTML element. For example:
```html theme={"system"}
From a data capture perspective, we replace the textContent value of the element before it is sent to our servers.
There are two ways to mask, using a CSS class or a data-attribute.
#### CSS class masking
To mask an element and all of its children, add the `adora-mask` CSS class to the HTML element. For example:
```html theme={"system"}
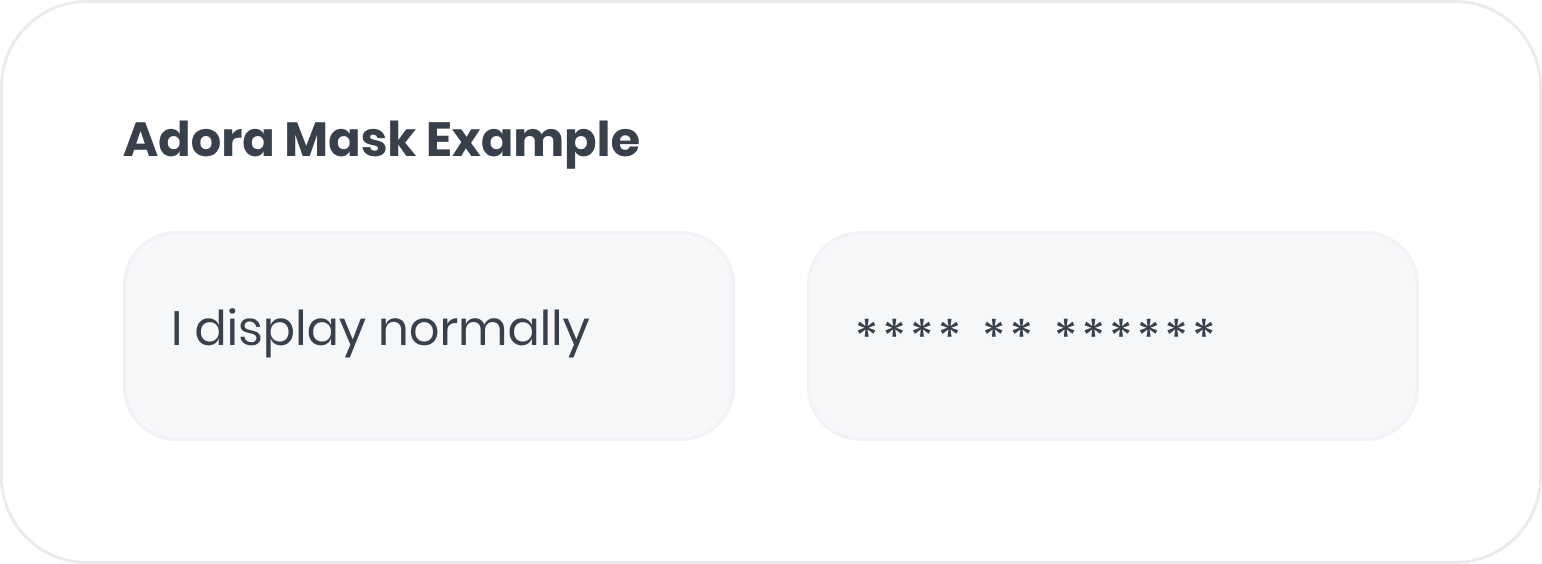 If you prefer to use custom class names, [contact us](mailto:hey@adora.so).
#### Data attribute masking
To mask an element and all of its children, add `data-adora-mask="true"` to the HTML element. For example:
```html theme={"system"}
If you prefer to use custom class names, [contact us](mailto:hey@adora.so).
#### Data attribute masking
To mask an element and all of its children, add `data-adora-mask="true"` to the HTML element. For example:
```html theme={"system"}
 #### Nesting mask and unmask
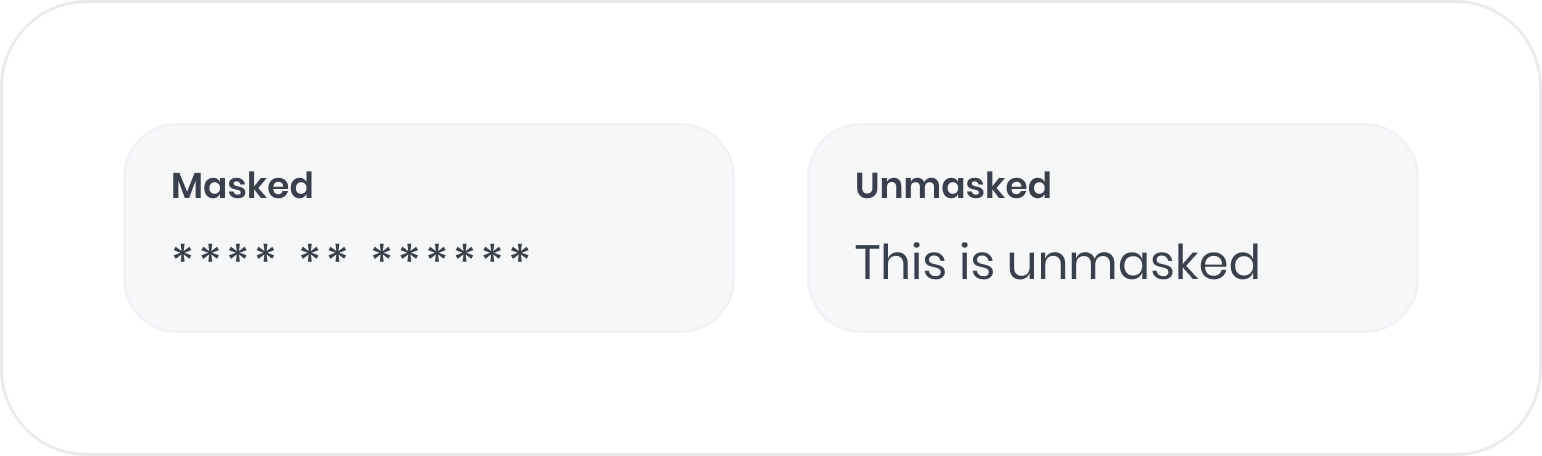
The `adora-mask` and `adora-unmask` classes apply to all children of the element. This allows you to mask a section while selectively unmasking specific parts within it. For example:
```html theme={"system"}
#### Nesting mask and unmask
The `adora-mask` and `adora-unmask` classes apply to all children of the element. This allows you to mask a section while selectively unmasking specific parts within it. For example:
```html theme={"system"}
` remains masked because `adora-unmask-element` does not propagate to children.
This is useful when you need fine-grained control over individual elements without affecting the masking state of their children.
### Blocking
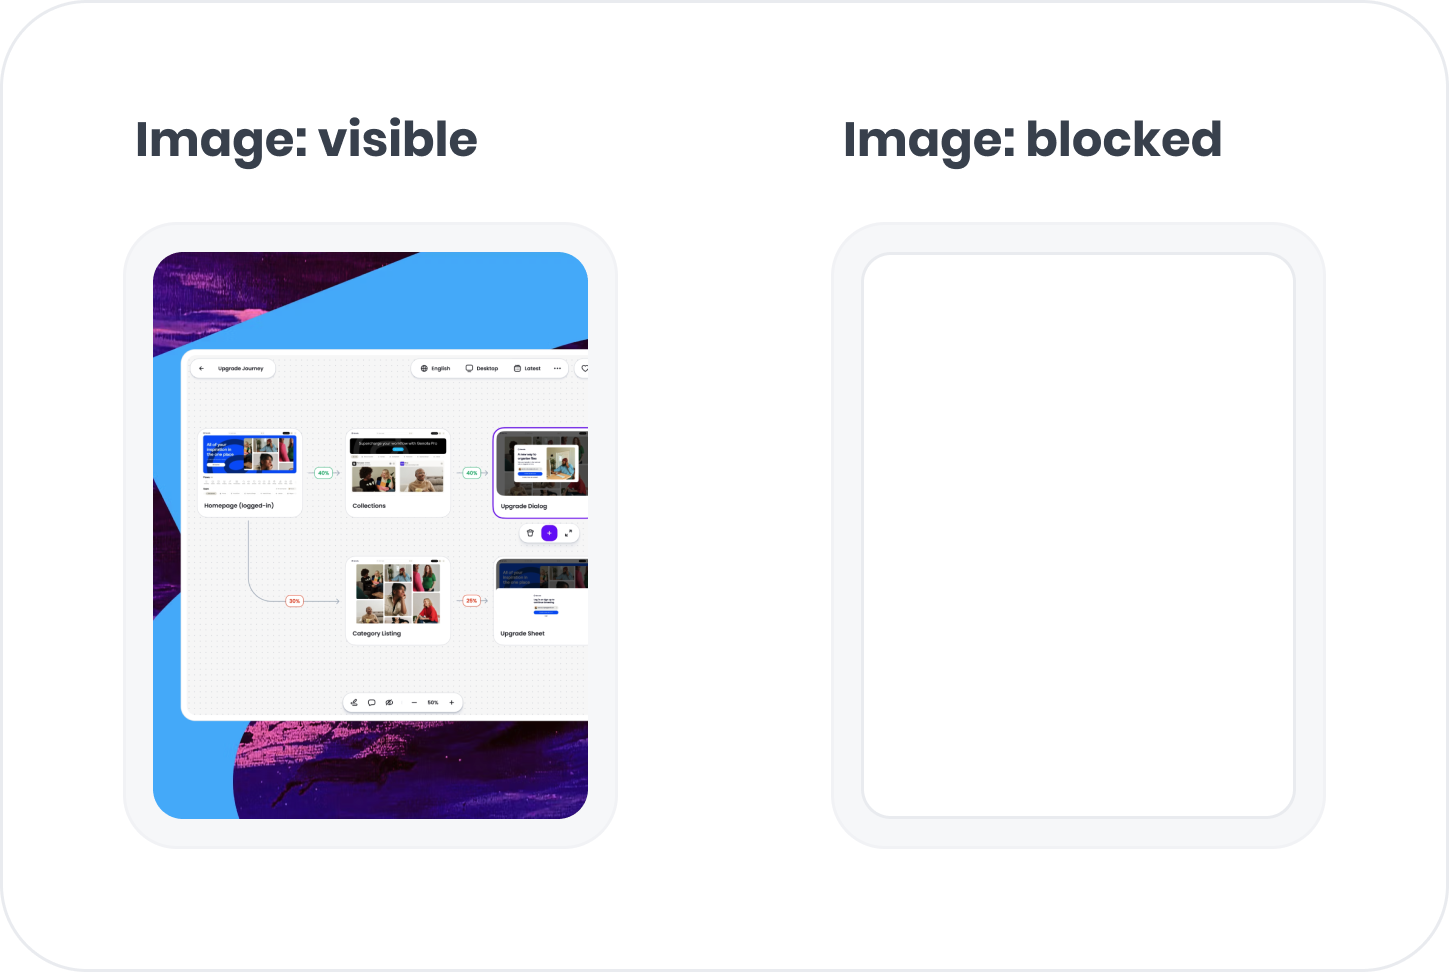
Blocking replaces content with an empty transparent box while preserving the original spacing. This is useful for removing entire images or sections from being captured.
There are two ways to block, using a CSS class or a data-attribute.
#### CSS class blocking
Add the `adora-block` CSS class to an element to block its content and all of its children.
For example:
```html theme={"system"}
```
Results in:
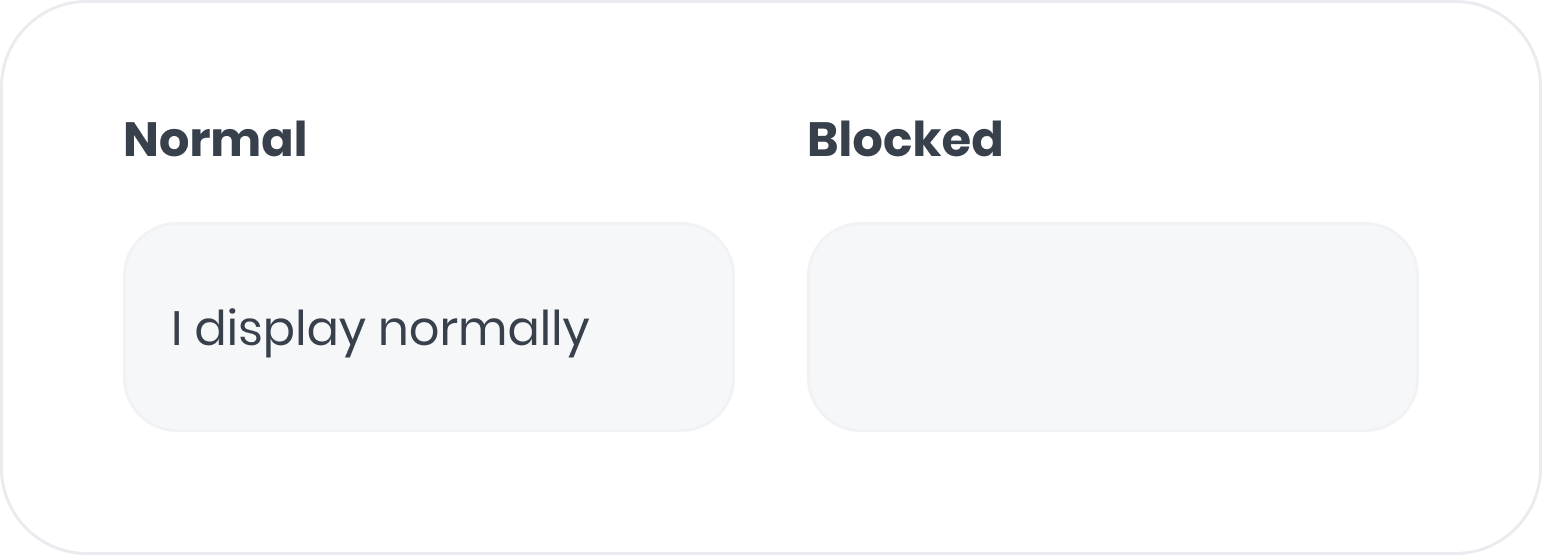 Examples of blocking an image:
 If you wish to use your own class name, [contact us](mailto:hey@adora.so).
#### Data attribute blocking
Add the `data-adora-block` attribute to an element to block its content and all of its children.
For example:
```html theme={"system"}
```
### URL Management
Adora offers both automatic and opt-in URL management for greater control of captured data. To manage URL controls for your organization, please visit the access control tab in settings [here](https://app.adora.so/settings/access-control), or [contact us](mailto:hey@adora.so).
#### Controlling What URLs Adora Captures
By default, Adora captures all URLs where the snippet is installed. To prevent Adora from capturing specific URLs, you can:
1. Avoid adding the script to those pages (e.g., using rules in Google Tag Manager or your codebase).
2. Install the snippet on all pages but configure a blocklist or allowlist for URLs. This is especially useful for single-page applications (SPAs) with dynamic routing, where managing snippet installation may be more complex.
Allowlists and blocklists use simple wildcard patterns. For example, you can configure Adora to capture all pages except those matching specific patterns:
* `/private-section/*` blocks direct pages under private-section (like /private-section/page1)
* `/private-section/**` blocks all pages under private-section, including deeply nested ones (like /private-section/accounts/user/settings)
When the Adora snippet loads, it checks if the current URL is blocked or allowed. By default, all URLs are allowed unless specified otherwise.
#### Redacting Path Data in URLs
URL aggregation is a key feature of Adora that simplifies your workflow by grouping similar paths. For example, URLs like `/page/uuid1`, `/page/uuid2`, and `/page/uuid3` are aggregated into `/page/*` in the UI. By default, this aggregation occurs server-side, meaning the full path (e.g., `/page/uuid1`) is sent to Adora.
If sending full paths is not desirable—e.g., when paths include sensitive data like `uuid1`—you can define client-side grouping rules using regex patterns. These rules allow Adora to strip or group paths before they are sent to the server. For example, you could provide the rule `/page/*` to ensure all such URLs are captured as `/page/*`.
#### Query Parameters
By default, Adora removes all query parameters to minimize the risk of unintentionally capturing sensitive information, such as authentication tokens. This default behavior provides peace of mind out of the box.
However, there are scenarios where query parameters are essential for differentiating steps within the same page. For example, a signup process might use `/signup?step=1`. By default, Adora would treat all such pages as `/signup`. To distinguish between steps, you can explicitly allow specific query parameters, such as `step`, to be captured.
### Stopping and restarting capturing
You can stop (or pause) Adora from capturing events by calling `window.adoraStop()` anytime. You can verify that Adora has been stopped capturing events by verifying that no requests being sent to `/sessions/SESSION_ID/events` in the "Network" tab. The snippet will not capture any events until `window.adoraStart()` has been called again.
If you wish to use your own class name, [contact us](mailto:hey@adora.so).
#### Data attribute blocking
Add the `data-adora-block` attribute to an element to block its content and all of its children.
For example:
```html theme={"system"}
```
### URL Management
Adora offers both automatic and opt-in URL management for greater control of captured data. To manage URL controls for your organization, please visit the access control tab in settings [here](https://app.adora.so/settings/access-control), or [contact us](mailto:hey@adora.so).
#### Controlling What URLs Adora Captures
By default, Adora captures all URLs where the snippet is installed. To prevent Adora from capturing specific URLs, you can:
1. Avoid adding the script to those pages (e.g., using rules in Google Tag Manager or your codebase).
2. Install the snippet on all pages but configure a blocklist or allowlist for URLs. This is especially useful for single-page applications (SPAs) with dynamic routing, where managing snippet installation may be more complex.
Allowlists and blocklists use simple wildcard patterns. For example, you can configure Adora to capture all pages except those matching specific patterns:
* `/private-section/*` blocks direct pages under private-section (like /private-section/page1)
* `/private-section/**` blocks all pages under private-section, including deeply nested ones (like /private-section/accounts/user/settings)
When the Adora snippet loads, it checks if the current URL is blocked or allowed. By default, all URLs are allowed unless specified otherwise.
#### Redacting Path Data in URLs
URL aggregation is a key feature of Adora that simplifies your workflow by grouping similar paths. For example, URLs like `/page/uuid1`, `/page/uuid2`, and `/page/uuid3` are aggregated into `/page/*` in the UI. By default, this aggregation occurs server-side, meaning the full path (e.g., `/page/uuid1`) is sent to Adora.
If sending full paths is not desirable—e.g., when paths include sensitive data like `uuid1`—you can define client-side grouping rules using regex patterns. These rules allow Adora to strip or group paths before they are sent to the server. For example, you could provide the rule `/page/*` to ensure all such URLs are captured as `/page/*`.
#### Query Parameters
By default, Adora removes all query parameters to minimize the risk of unintentionally capturing sensitive information, such as authentication tokens. This default behavior provides peace of mind out of the box.
However, there are scenarios where query parameters are essential for differentiating steps within the same page. For example, a signup process might use `/signup?step=1`. By default, Adora would treat all such pages as `/signup`. To distinguish between steps, you can explicitly allow specific query parameters, such as `step`, to be captured.
### Stopping and restarting capturing
You can stop (or pause) Adora from capturing events by calling `window.adoraStop()` anytime. You can verify that Adora has been stopped capturing events by verifying that no requests being sent to `/sessions/SESSION_ID/events` in the "Network" tab. The snippet will not capture any events until `window.adoraStart()` has been called again.
Normal
I display normally.
Blocked
This is blocked
Examples of blocking an image:
If you wish to use your own class name, [contact us](mailto:hey@adora.so).
#### Data attribute blocking
Add the `data-adora-block` attribute to an element to block its content and all of its children.
For example:
```html theme={"system"}
This will be visible
This will be blocked
Also visible